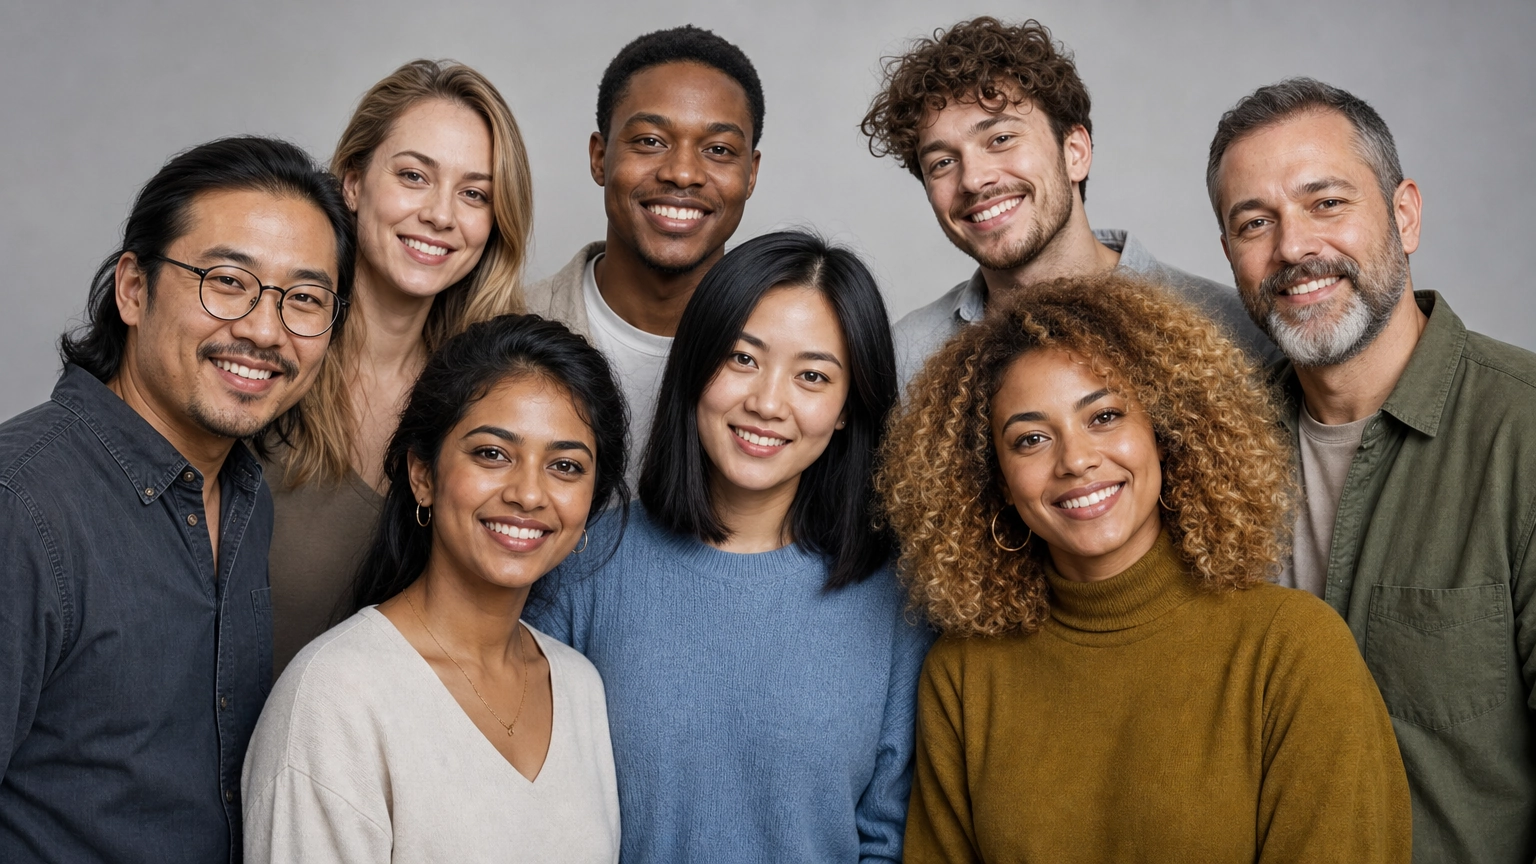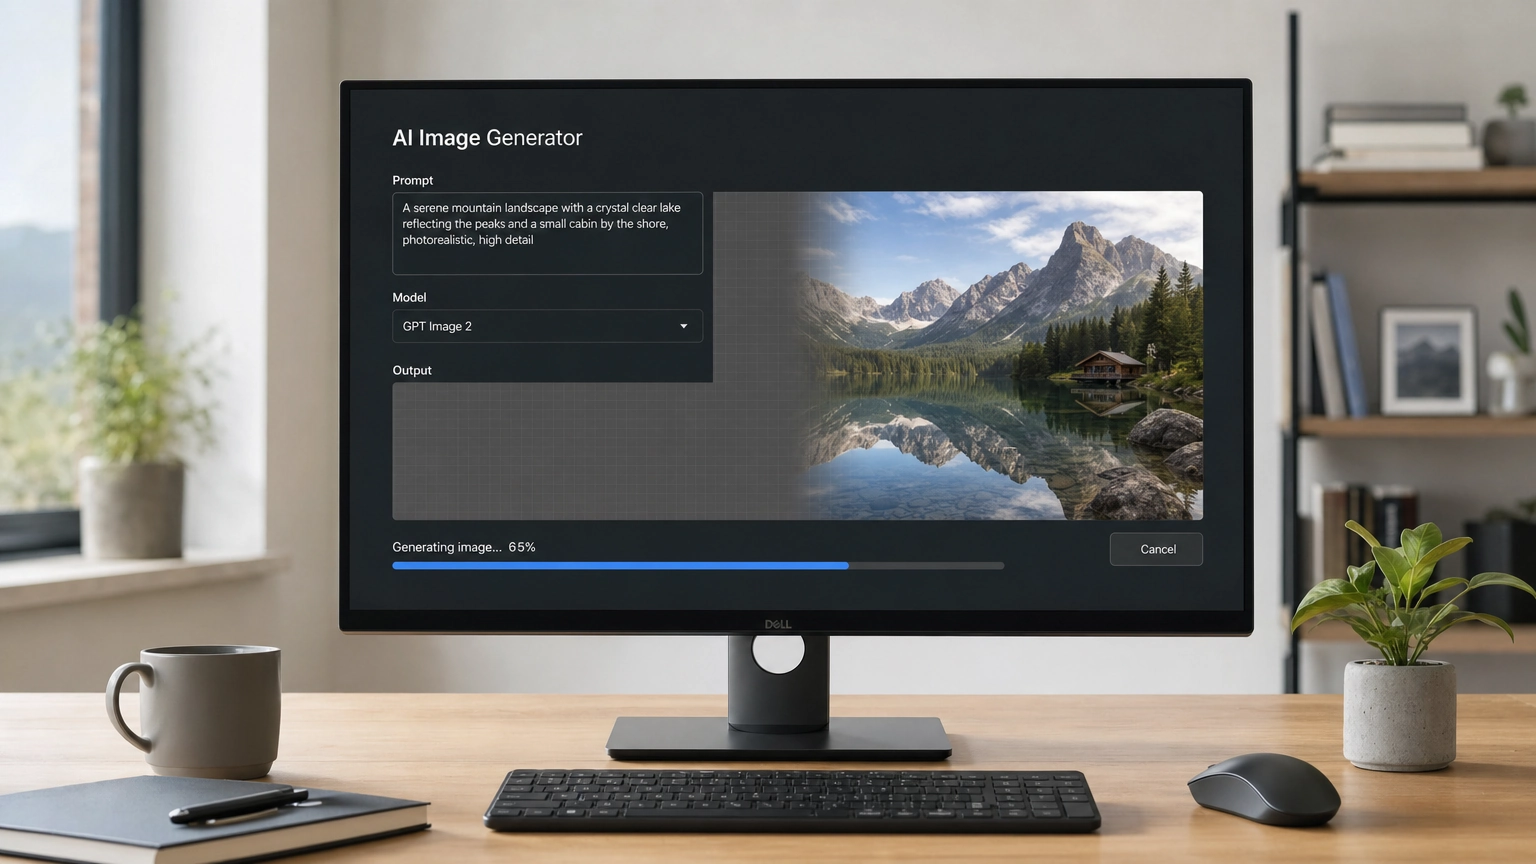
Knowing how to make AI images look realistic comes down to three core pillars: precise prompt engineering, smart model selection, and intentional post-processing. Skip any one of these, and your output will likely look like a polished render rather than a genuine photograph.
The gap between AI art that looks generated and AI art that passes for a real photo is smaller than most people think. But closing that gap takes more than typing "hyperrealistic 4K" into a prompt box. It takes an understanding of how these models interpret language, how lighting and texture read to the human eye, and how to refine an image through iteration rather than expecting perfection on the first try. This article breaks down exactly what works, what doesn't, and how platforms like Fiddl.art make the whole process significantly more efficient.
Why Generic Prompts Produce Generic Results
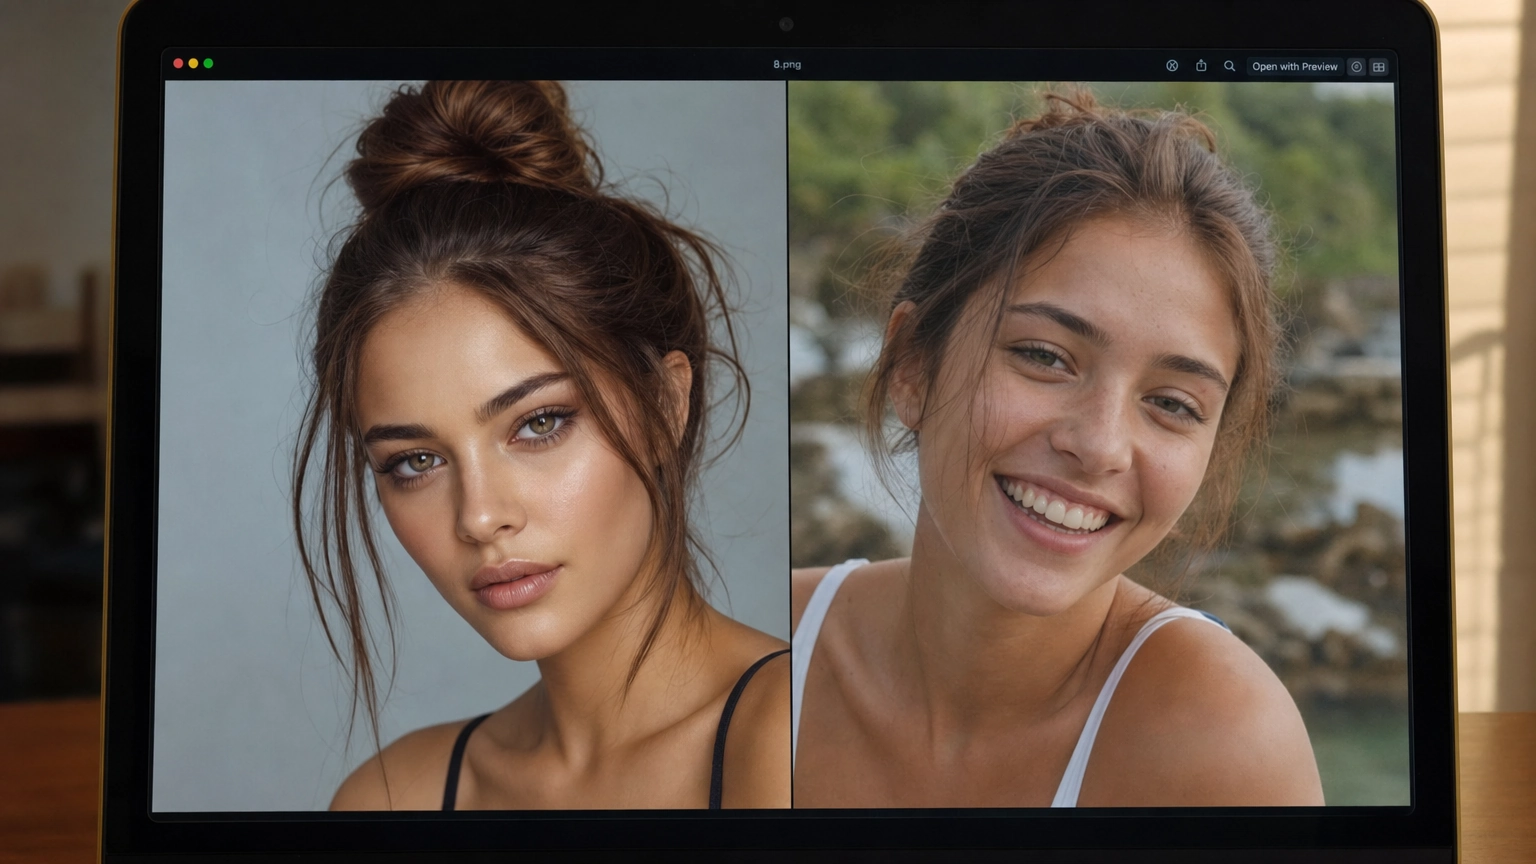
The single biggest mistake most people make is treating the prompt like a simple description. Writing "a woman standing in a park" gives the model almost nothing to work with in terms of photographic authenticity. The model fills in the blanks however it sees fit, and the defaults it chooses tend to lean toward polished, idealized aesthetics rather than raw, believable photography.
What actually signals realism to an AI model is camera language. Think about how a photographer would describe a shot: the lens focal length, the depth of field, the direction and quality of light, the film stock or sensor characteristics. When you write "85mm portrait lens, f/1.8 aperture, golden hour backlight, Canon EOS R5, slight bokeh in background," the model has a completely different set of references to pull from.
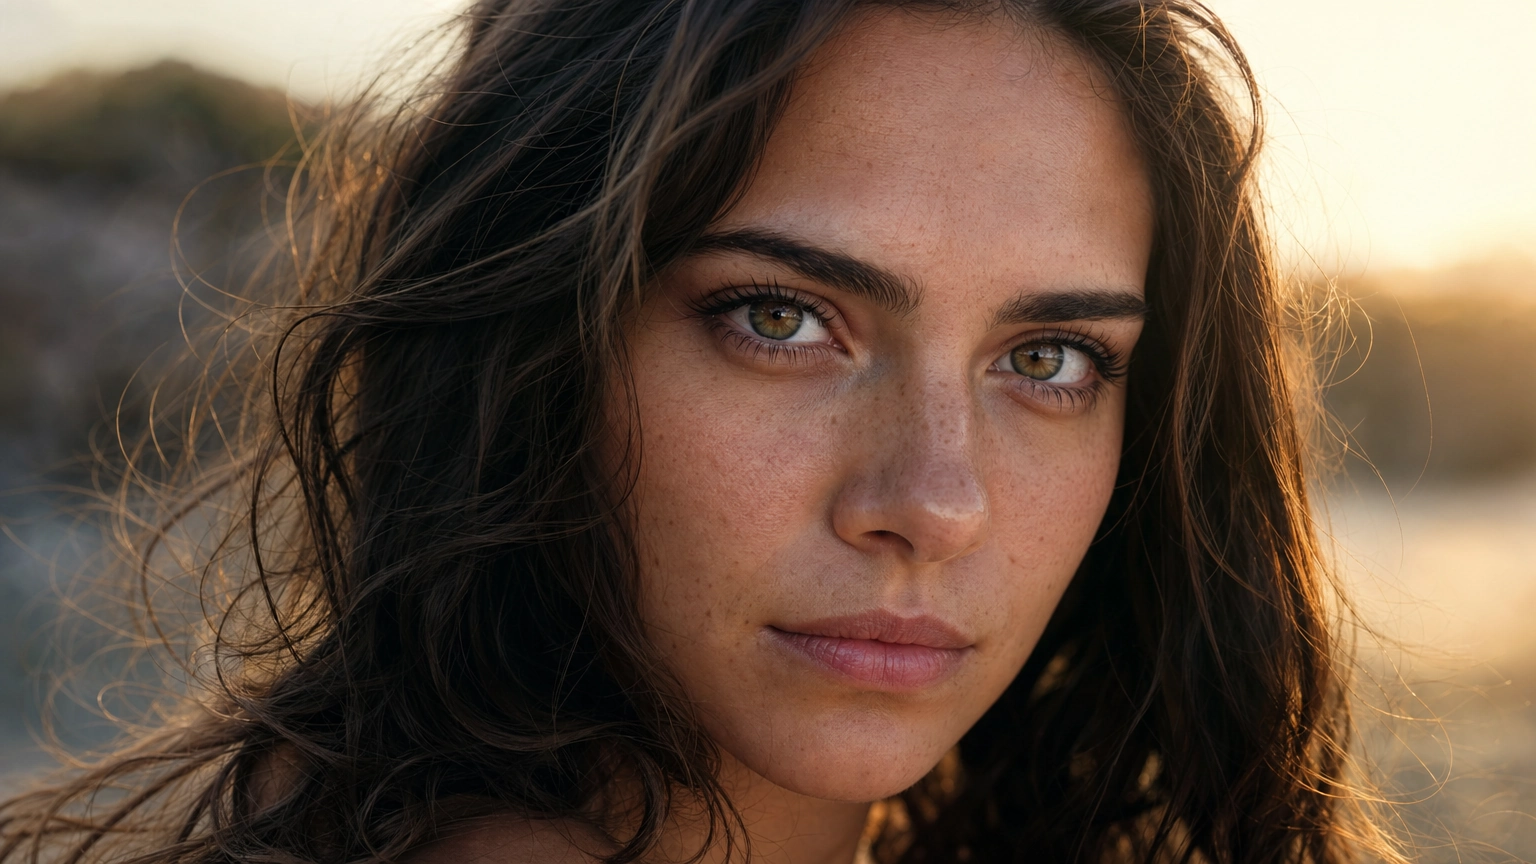
Specificity about the subject matters just as much. Vague descriptions lead to average-looking faces and neutral expressions. When you specify eye color, skin tone, the texture of hair, the exact expression, and even subtle details like freckles or a slightly asymmetrical smile, you push the model away from idealized perfection and toward something that feels genuinely human. A good starting point is exploring realistic photo prompts to understand the kind of detail level that separates professional outputs from amateur ones.
Negative prompts are another underused tool. Adding terms like "no illustration, no digital art, no CGI, no painting, no cartoon" actively steers the model away from its aesthetic biases. Without them, many models default to a heavily processed, almost cinematic look that reads as artificial even when the subject matter is technically accurate. One more counter-intuitive tip: avoid the word "hyperrealistic" in your prompts, as it often triggers an aesthetic mode that prioritizes digital polish over organic imperfection. Real photos have motion blur, sensor noise, lens flare, and slight color casts. Lean into those.
The Role of Lighting and Texture in Photorealism
Human brains are exceptionally good at detecting when something is visually "off." Even if you can't immediately identify why an image looks fake, your visual system picks up on inconsistencies in shadow direction, reflection accuracy, and surface texture almost instantly. These are the areas where most AI images fall apart.
Lighting is the single most important factor in photorealism. Natural light has a directionality, a color temperature, and a diffusion quality that artificial or generic AI lighting rarely replicates by default. You need to describe it. "Overcast diffused daylight from a north-facing window, creating soft shadows with no harsh highlights" is far more useful than "natural lighting." The more cinematic and specific your lighting description, the more believable the result.
Texture is equally critical, especially for skin. Real skin has visible pores, micro-hairs, fine lines, slight oiliness or dryness depending on the person, and tonal variation that shifts across the face. AI models tend to smooth this out unless you explicitly ask for it. Prompting for "visible skin texture, natural pores, slight subsurface scattering" can make a significant difference in portrait work, and for more detailed strategies around portrait generation specifically, you should check out resources covering ai portrait prompts.
Shadows and reflections also need to be consistent. If your light source is coming from the left, every shadow in the frame should fall to the right. Reflections in eyes, glasses, and shiny surfaces need to make spatial sense. These are places where AI models still struggle, and paying attention to them during the review process is part of the iterative refinement that leads to truly convincing outputs.
Choosing the Right Model for Realistic Outputs
Not all AI image models are built for the same purpose. Some are optimized for illustration and concept art, others for anime aesthetics, and a smaller group is specifically tuned for photorealistic output. Using the wrong model is like trying to take a studio portrait with a wide-angle lens: technically possible, but working against yourself.
For photorealism, models that have been trained heavily on real photography tend to outperform those with broader training sets. Recraft V4, for example, produces results that closely mimic the characteristics of candid photography, with natural skin tones, plausible lighting, and compositional instincts that feel borrowed from real photographers rather than digital artists.
Platforms that give you access to multiple models from a single workspace are particularly useful here because you can test the same prompt across different engines without rebuilding your workflow. Fiddl.art does exactly this, letting you switch between leading AI image models without leaving the interface and offering distinct strengths worth exploring like Nano Banana 2 and Seedream 4.5 depending on your creative goals.
| Model Type | Best For | Realism Level | Common Weakness |
|---|---|---|---|
| Photography-tuned models | Portraits, lifestyle, product | High | Less creative flexibility |
| General-purpose models | Concept art, variety | Medium | Smooth, polished look |
| Anime/illustration models | Character art, stylized work | Low for photos | Not designed for realism |
| Custom-trained models | Niche subjects, brand work | Variable | Requires quality training data |
The table above illustrates why model selection is a strategic decision, not a random one. Matching your model to your output goal cuts your iteration time in half.
Post-Processing: Where Good Images Become Great Ones
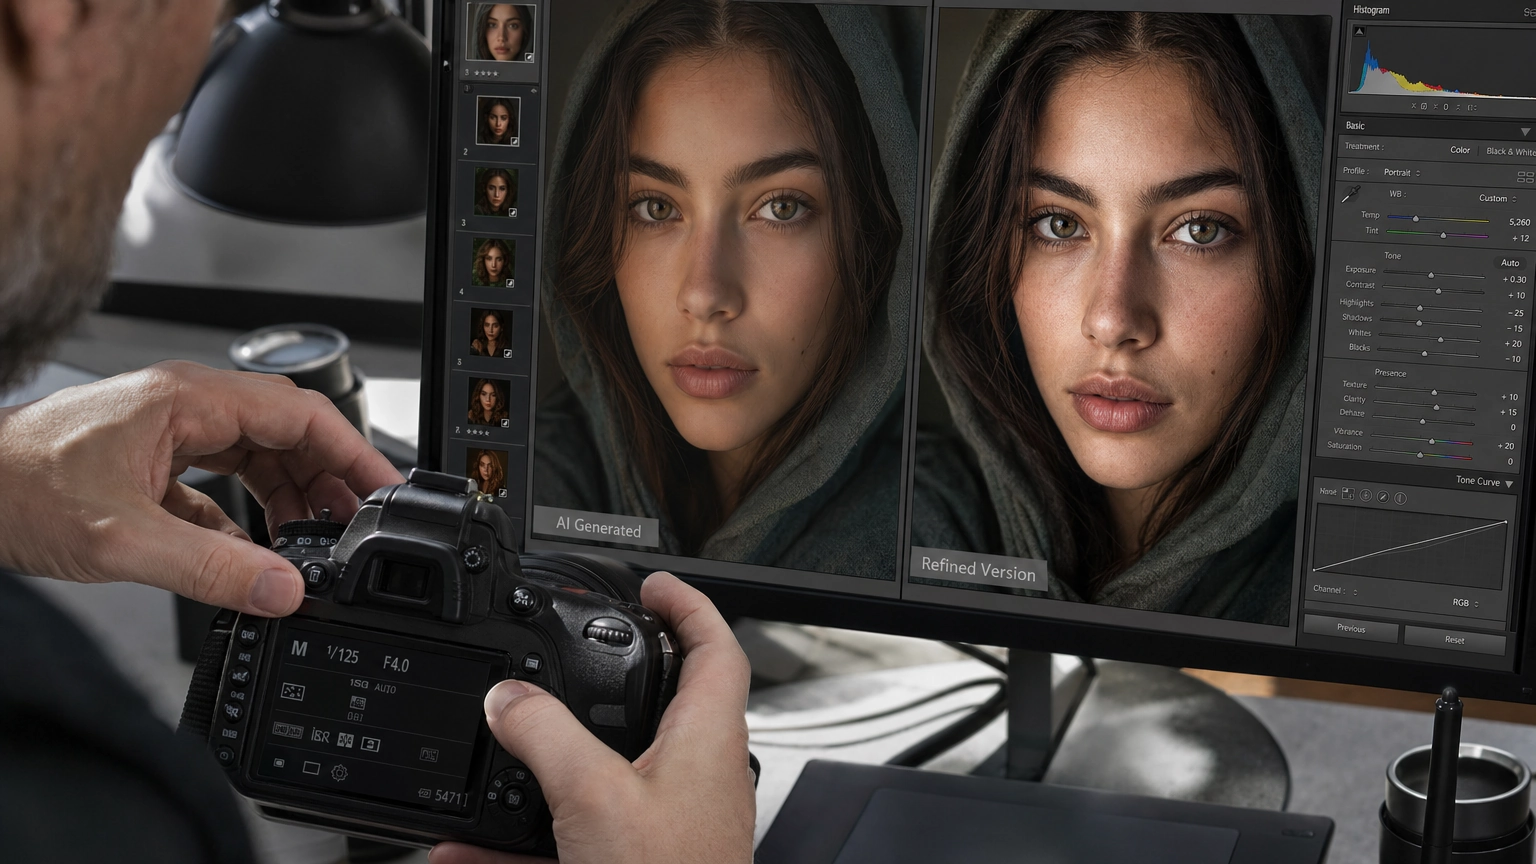
Even the best AI-generated image can benefit from post-processing. This isn't a sign of failure; it's part of a professional workflow. Real photographers don't publish straight-out-of-camera files either.
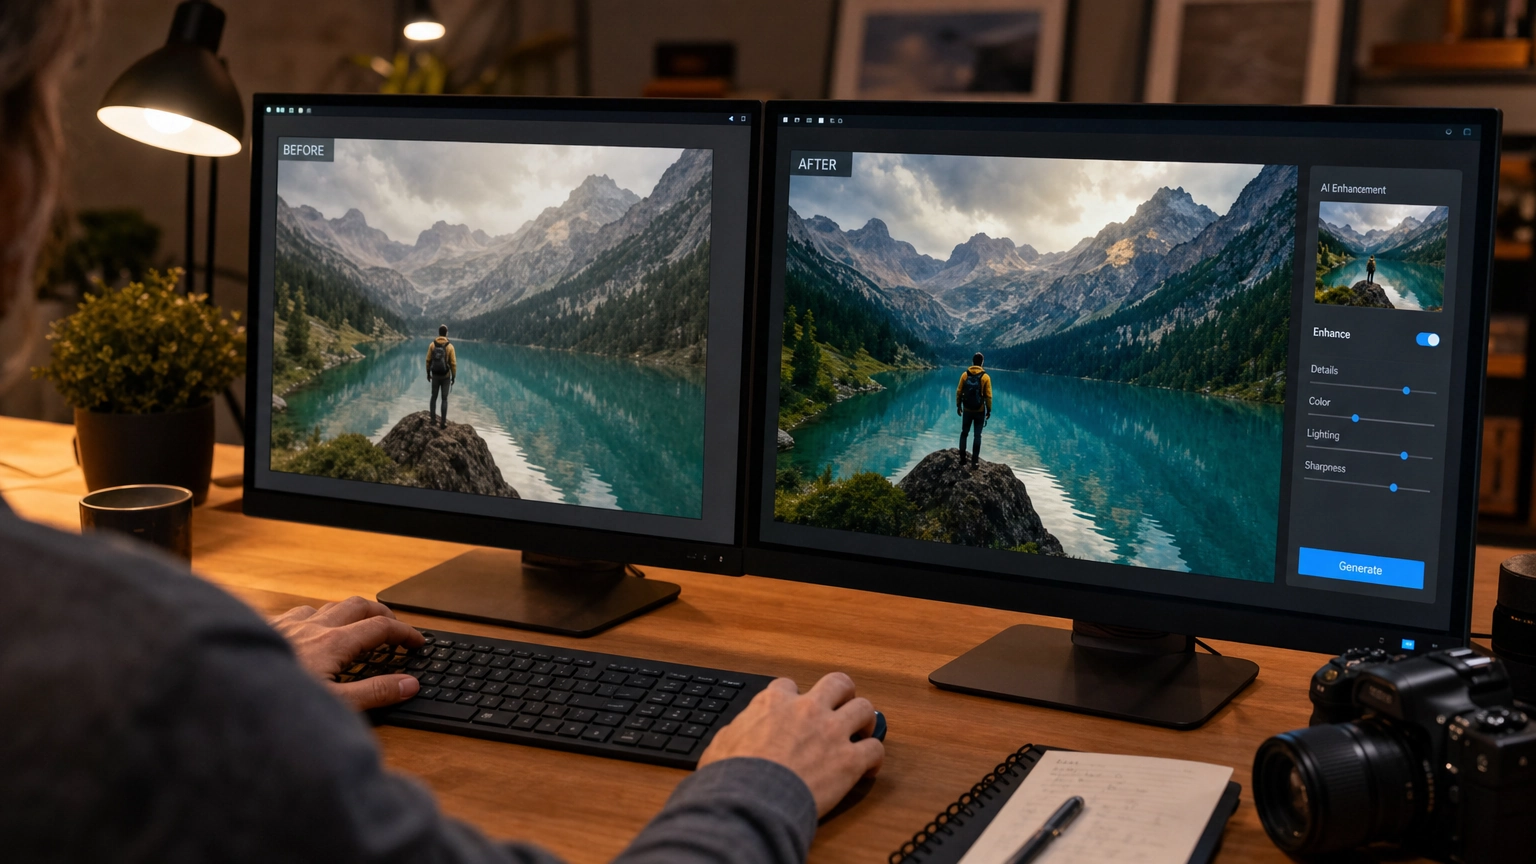
The two most impactful post-processing steps for realism are upscaling and enhancement. Upscaling increases your image's resolution while preserving or improving fine detail: the texture in fabric, the sharpness of individual strands of hair, the subtle gradients in skin tone. Without upscaling, many AI outputs look fine at thumbnail size but fall apart when viewed at full resolution, and using an ai image upscaler can dramatically improve the perceived quality of your output without requiring you to regenerate the image from scratch.
Enhancement tools take things further by addressing color grading, contrast, sharpness, and local detail recovery, and an ai photo enhancer can bring out details in shadows, correct slight color casts, and give your image the kind of tonal depth that reads as professional photography. These are often one-click operations on platforms like Fiddl.art, meaning you don't need to open a separate editing application or learn complex software. Beyond these essential tools, understanding how to avoid common pitfalls is equally important, which is why familiarizing yourself with common AI art mistakes can accelerate your learning curve significantly.
Things to Know
- Adding "4K" or "8K" to a prompt doesn't automatically improve quality; it signals intent to the model, but actual resolution and detail depend on the model's output capability and whether you follow up with upscaling.
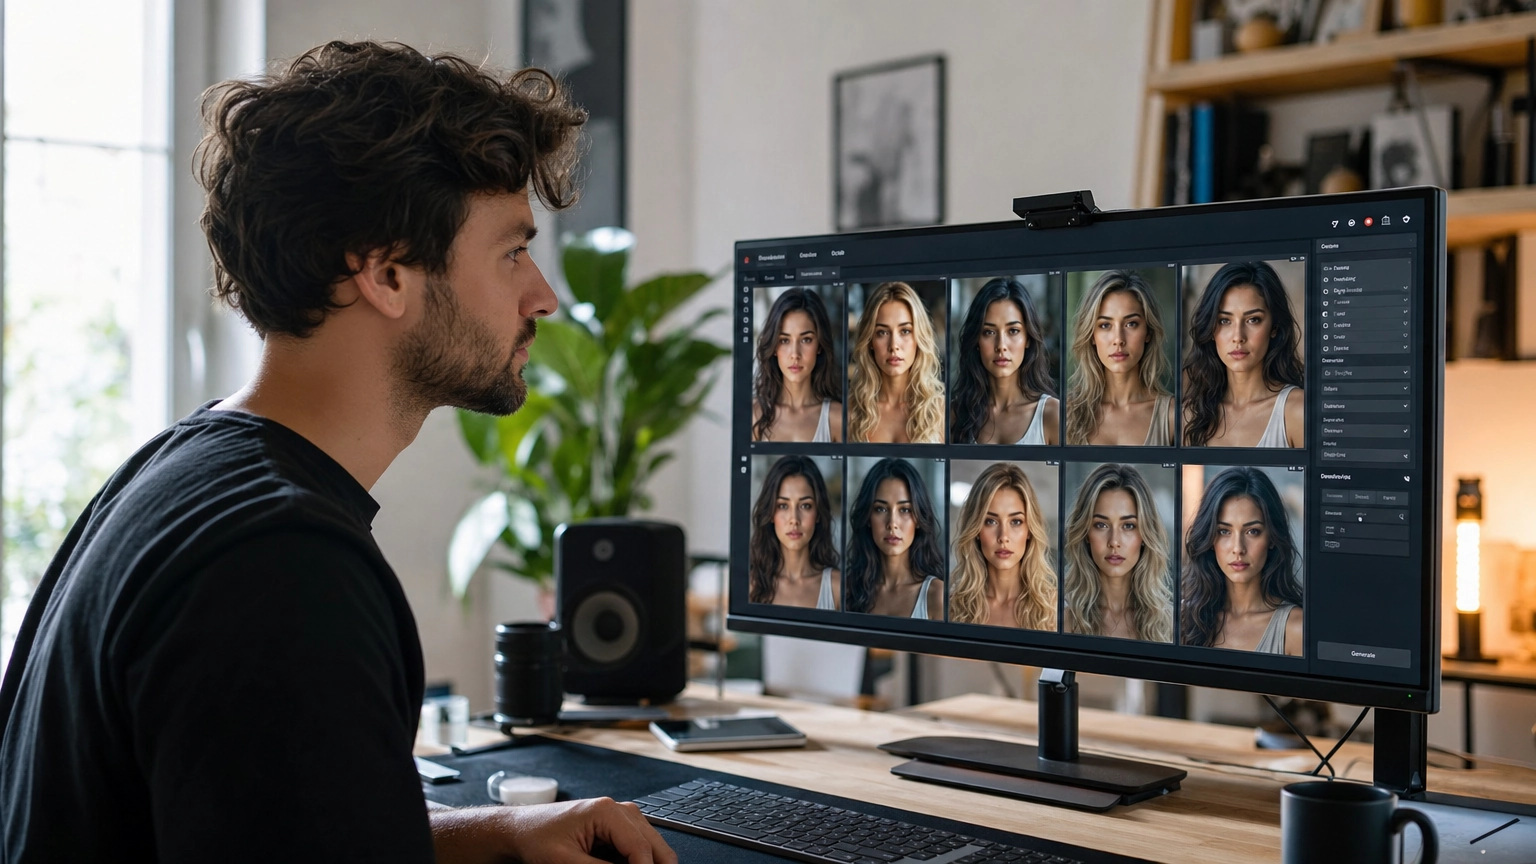
- Iteration is non-negotiable. Professional AI image creators typically generate 10 to 20 variations of a prompt before selecting and refining their best result.
- Consistent lighting descriptions are more impactful than subject descriptions for achieving realism. The light makes the scene; the subject populates it.
- Negative prompts are as important as positive prompts. Without them, models default to their trained aesthetic preferences, which often lean synthetic.
- Custom-trained models on platforms like Fiddl.art's Forge feature can produce highly realistic results for specific subjects, especially when trained on curated, high-quality photographic datasets.
- Even minor anatomical errors (misaligned eyes, extra fingers, unnatural ear placement) immediately destroy the illusion of realism. Always review your outputs at 100% zoom before finalizing.
Frequently Asked Questions
Q: Does specifying camera settings in a prompt actually make a difference?
Yes, specifying camera settings like focal length, aperture, and camera model meaningfully improves photorealism.
When you include terms like "85mm lens, f/2.0, Canon R6," you're giving the model photographic context that shapes how it renders depth of field, bokeh, and sharpness. Models trained on photography datasets recognize these references and apply the corresponding visual characteristics to the output.
Q: Why do my AI portraits still look fake even after detailed prompting?
The most common cause is the model defaulting to idealized skin rendering and symmetrical features, which look too perfect to be real.
Adding prompts for natural imperfections, such as slight asymmetry, visible pores, and natural skin texture variation, disrupts that idealized look. Also consider that the model you're using may not be optimized for photorealism; switching models often produces a dramatic improvement with the same prompt.
Q: How many times should I regenerate a prompt before giving up on it?
Most professional AI creators regenerate the same prompt 10 to 20 times before settling on a version to refine.
Each generation pulls from a slightly different point in the model's output distribution, which means two identical prompts can produce very different results. If your prompt isn't producing anything usable after 20 tries, revisit the wording and specificity rather than abandoning the concept entirely.
Q: Can post-processing tools like upscalers fix bad AI generations?
Post-processing improves good generations but cannot rescue fundamentally flawed ones.
Upscaling and enhancement tools are most effective when the base image already has correct anatomy, plausible lighting, and consistent perspective. If the foundational generation has obvious errors, such as distorted hands or conflicting light sources, those issues will remain visible even after processing.
Q: Is it better to use multiple AI models or master one?
Using multiple models and comparing outputs is more effective than committing to a single model for all use cases.
Different models have different strengths, and no single model excels at every subject type. Platforms that offer multi-model access from one workspace make this comparison process much faster and more practical for everyday creative work, and learning more about the available options through an AI models guide can help you make informed decisions about which tools to prioritize.
The Bottom Line on How to Make AI Images Look Realistic
Learning how to make AI images look realistic is a skill that compounds over time. The more you study real photography, the better your prompts become. The more you experiment with models, the better your model selection instincts get. And the more you practice post-processing, the less time you spend fixing issues and the more time you spend creating.
Fiddl.art gives you all of those tools in one place: access to multiple state-of-the-art image models, one-click upscaling and enhancement, custom model training, and a community of creators you can learn from directly. Start with one image concept, push it through at least a dozen variations, apply enhancement tools, and compare the result to your starting point. That gap is where your skills are growing.
If you're serious about elevating your AI image quality, start on Fiddl.art today, explore the community galleries for prompt inspiration, and build your own refinement workflow from the ground up.